The Assignment: Design and print a small object that could not be (easily) made by subtractive methods. 3D scan an object
Materials:
My Project:
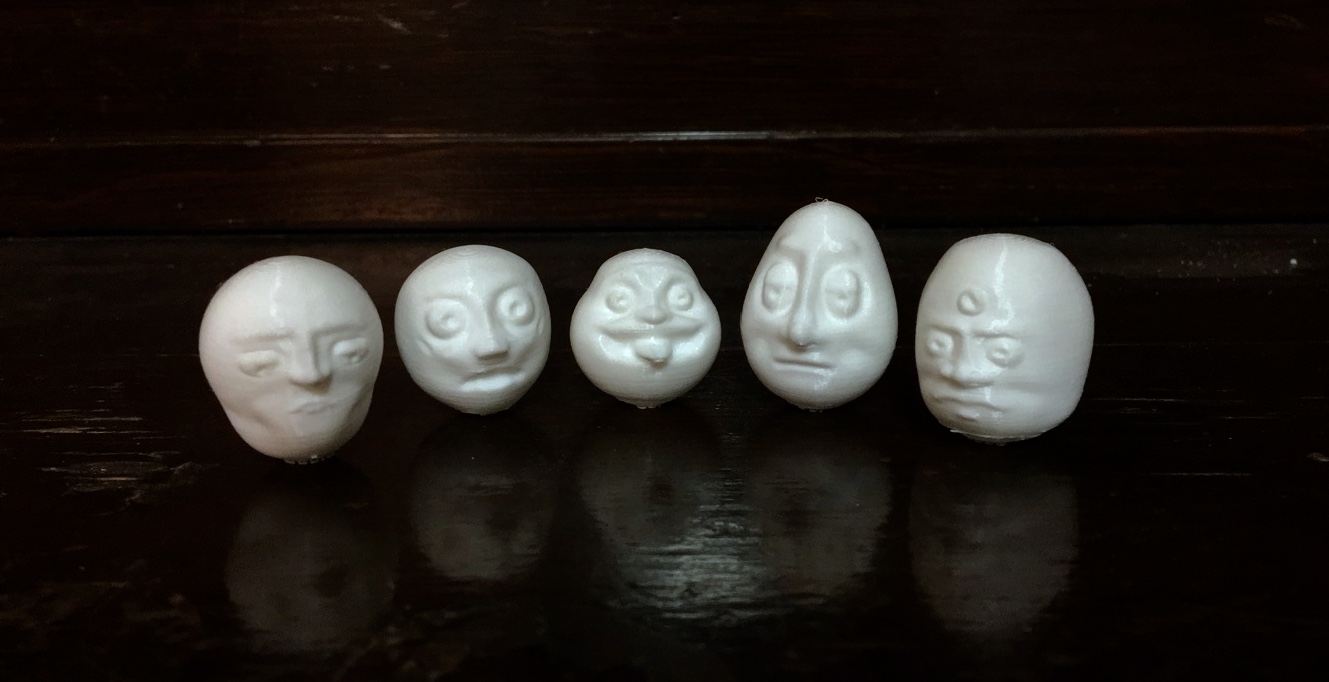
This week, I decided that I wanted to practice doing some 3D sculpting. Thus far, I've found that CAD software can sometimes leave projects looking inorganic and impersonal. So, I decided to sculpt and 3D print the most organic and personal forms of all: human faces.
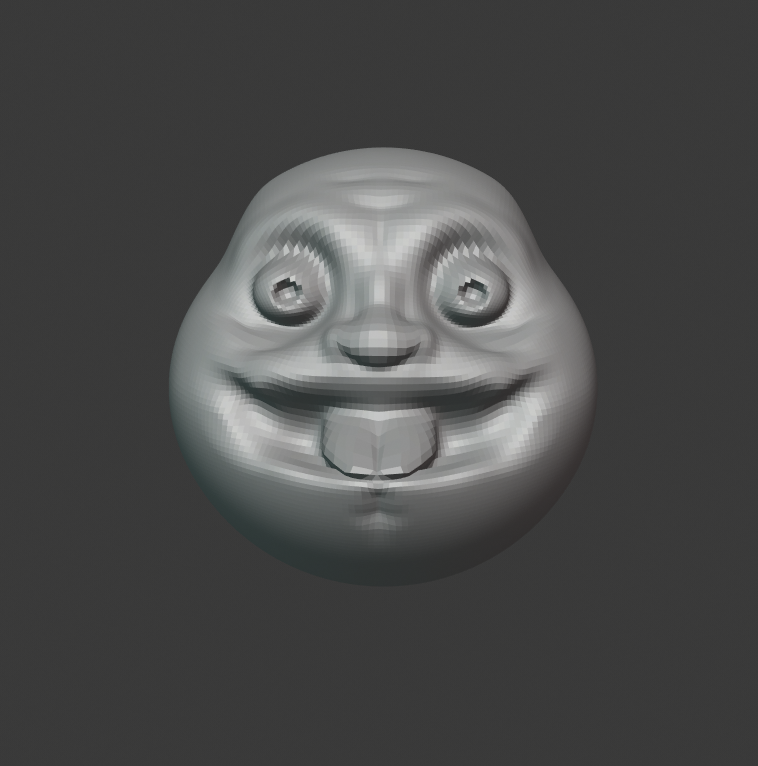
To do this, I started by downloading Blender. Blender is a 3D sculpting software that has Fusion360-like CAD abilities but also has an extremely built out interface for digital sculpting (in a more Z-brush-like way). I then sculpted 5 unique faces, a couple of which I have included images of below:

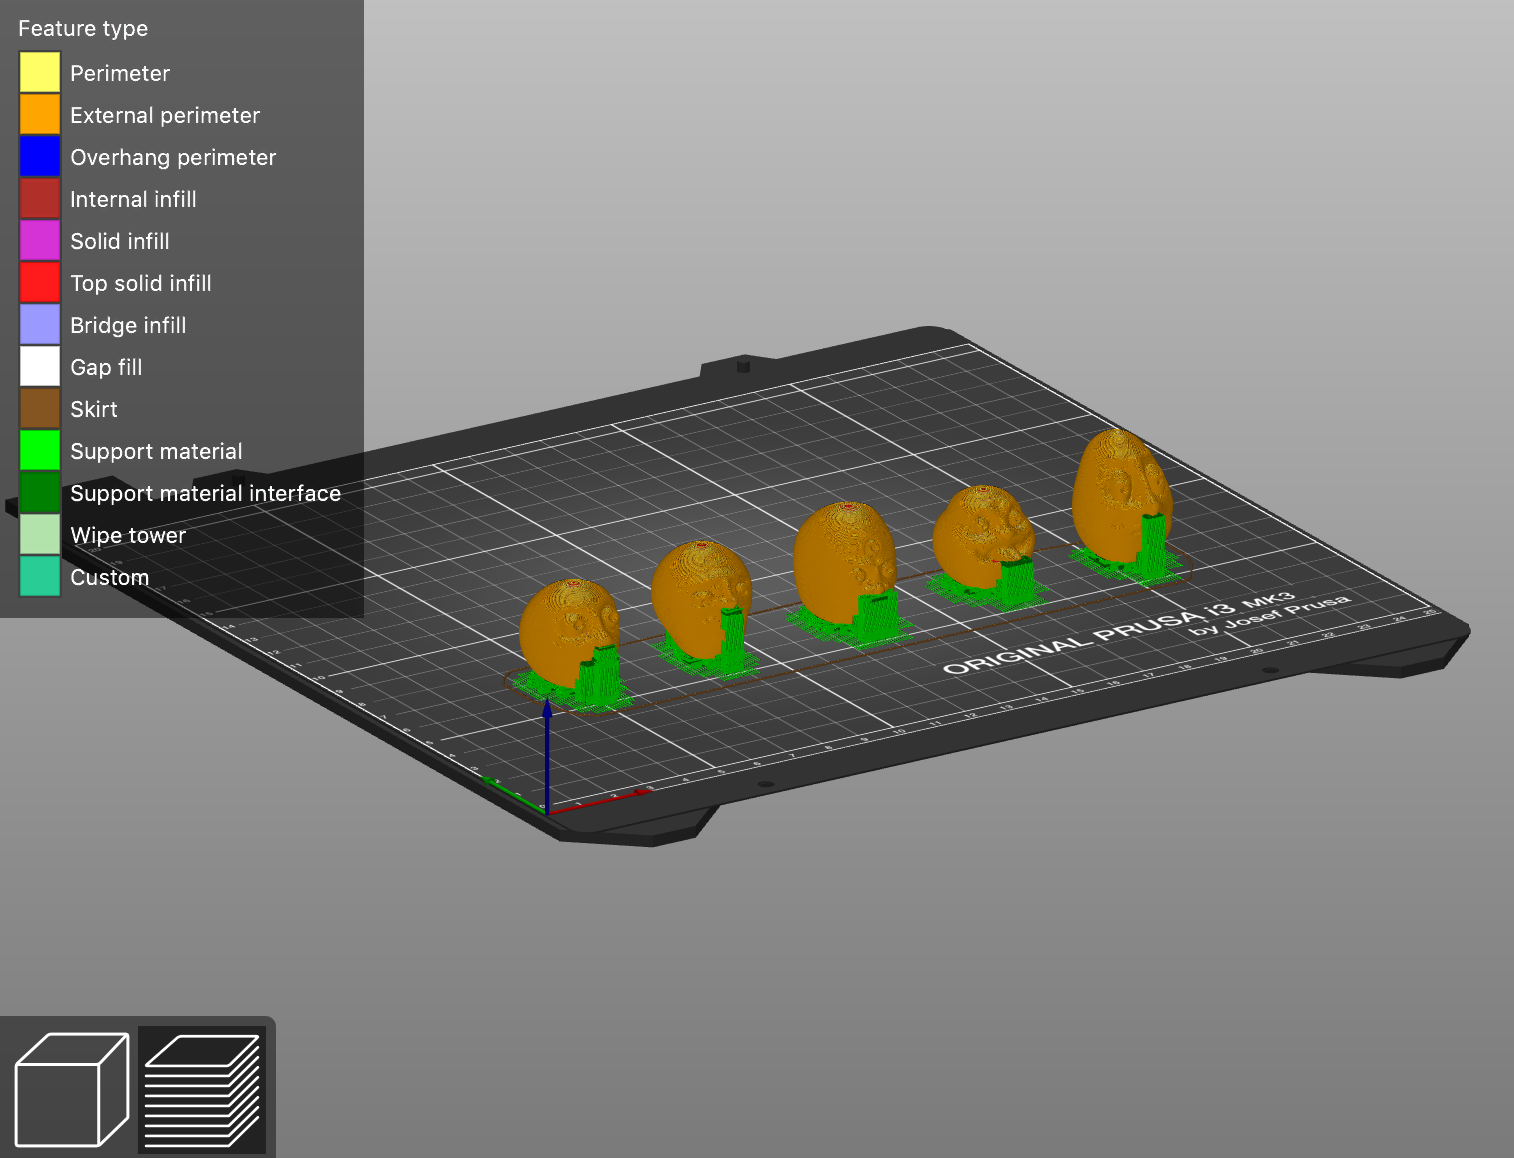
Next, I loaded the stl files that I exported from Blender into the Prusa slicer software. Before exporting the gcode, I made sure to add supports to the baseplate so the round figures wouldn't roll over during printing. The sliced files can be seen below:
Finally, I loaded the sliced file onto an sd card and got to printing!

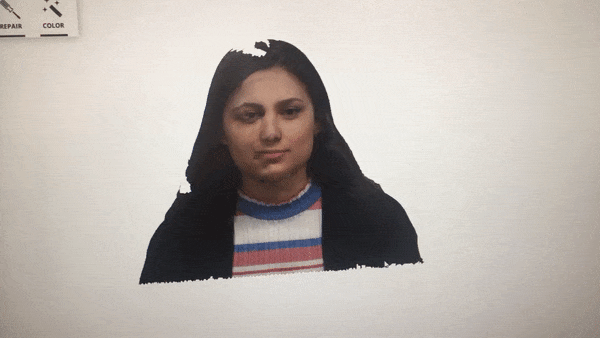
While printing was happening, I took some time to get acquainted with the 3D scanner. To do this, I took a scan of my friend Marie's face. The 3D scanner was pretty tricky to work with, but I was eventually able to get a solid scan of her face (with a few parts off)
Challenges & Workarounds:
Three hours later, my faces were done printing! I'm probably going to drill through them to convert them into beads to add to a necklace but am also considering other options.
Final Product: